- Creating an Account
- Starting to Build: Creating a Plan
- Specifying Requirements
- Installing the BrainGrid CLI, and configuring your agent
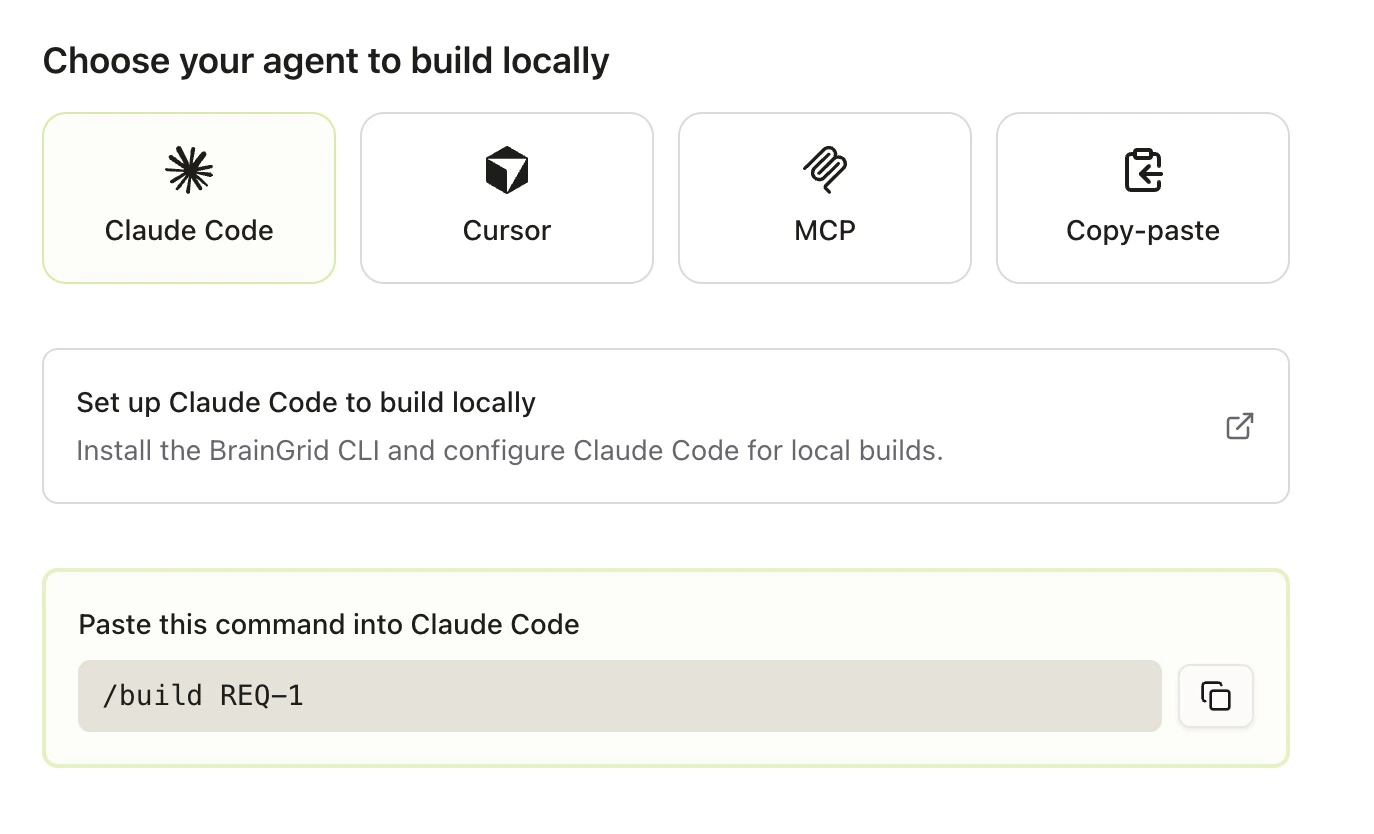
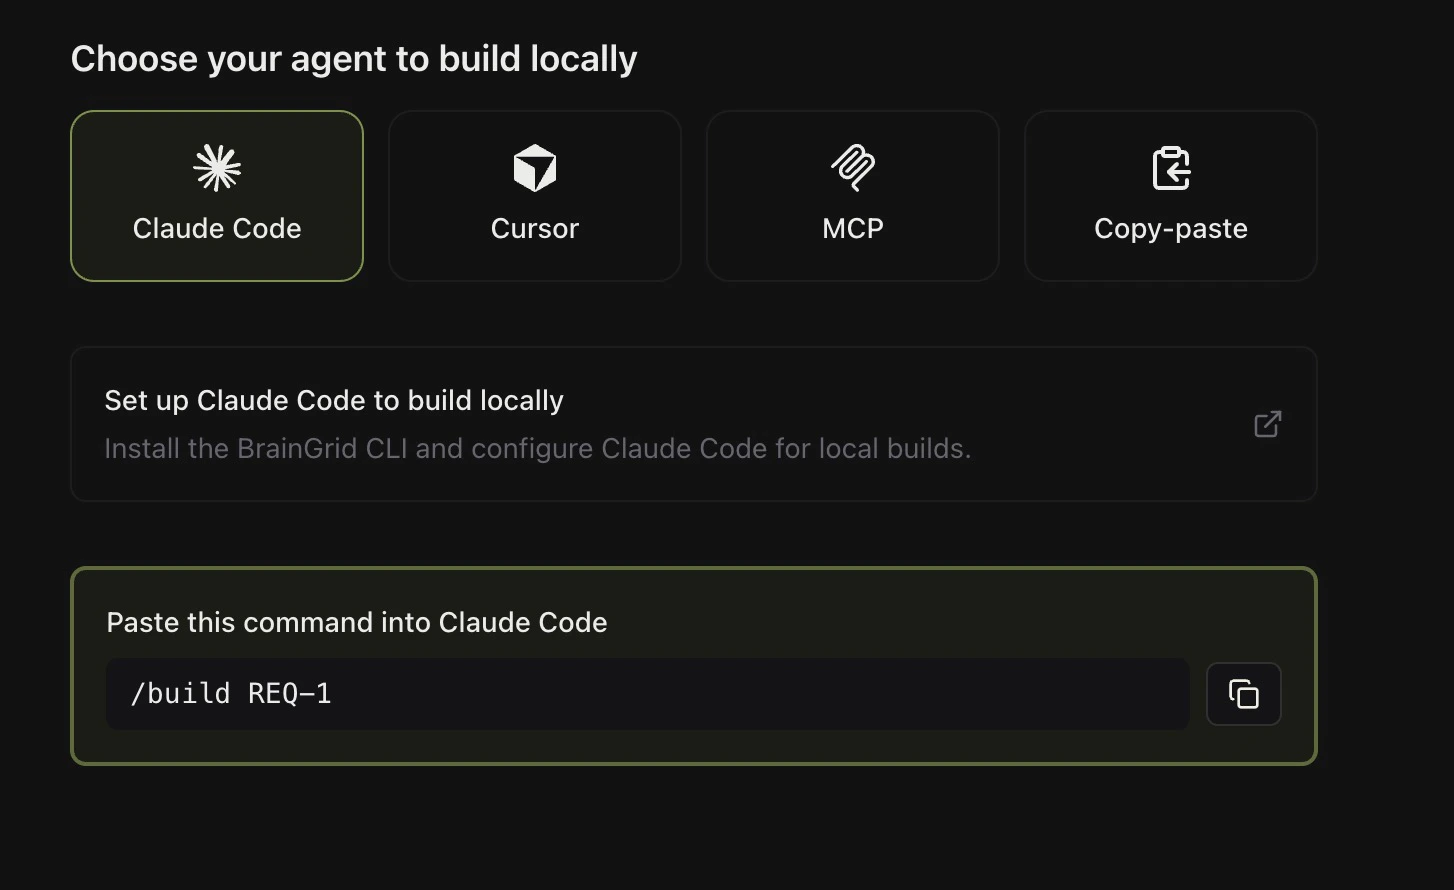
- Building it with your favorite AI coding tool
Let’s get started!
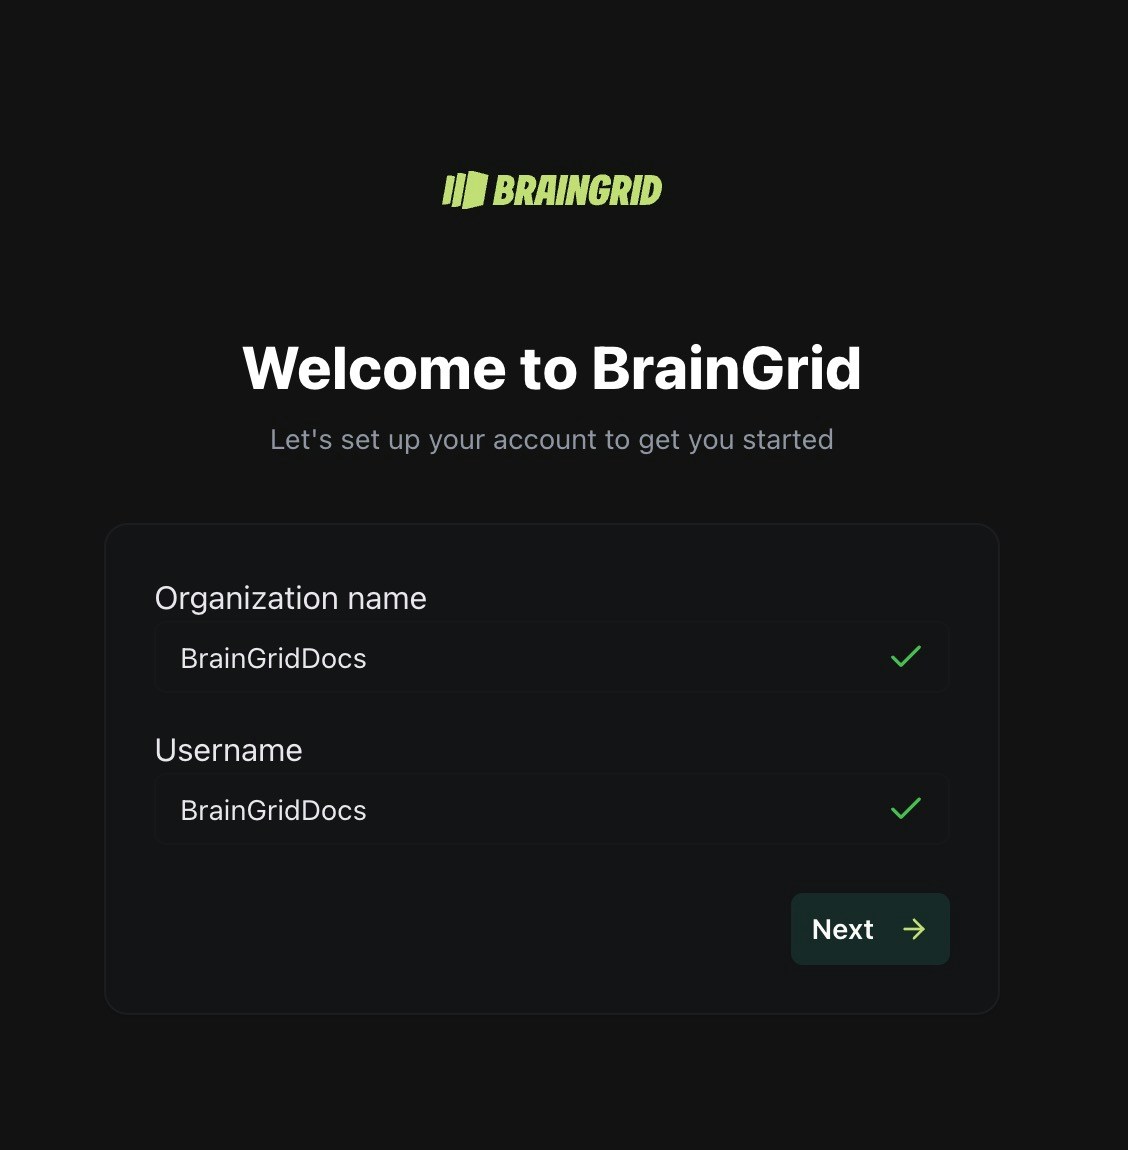
Create your Account
Go to https://app.braingrid.ai and create an account.Give your organization a name and pick a username.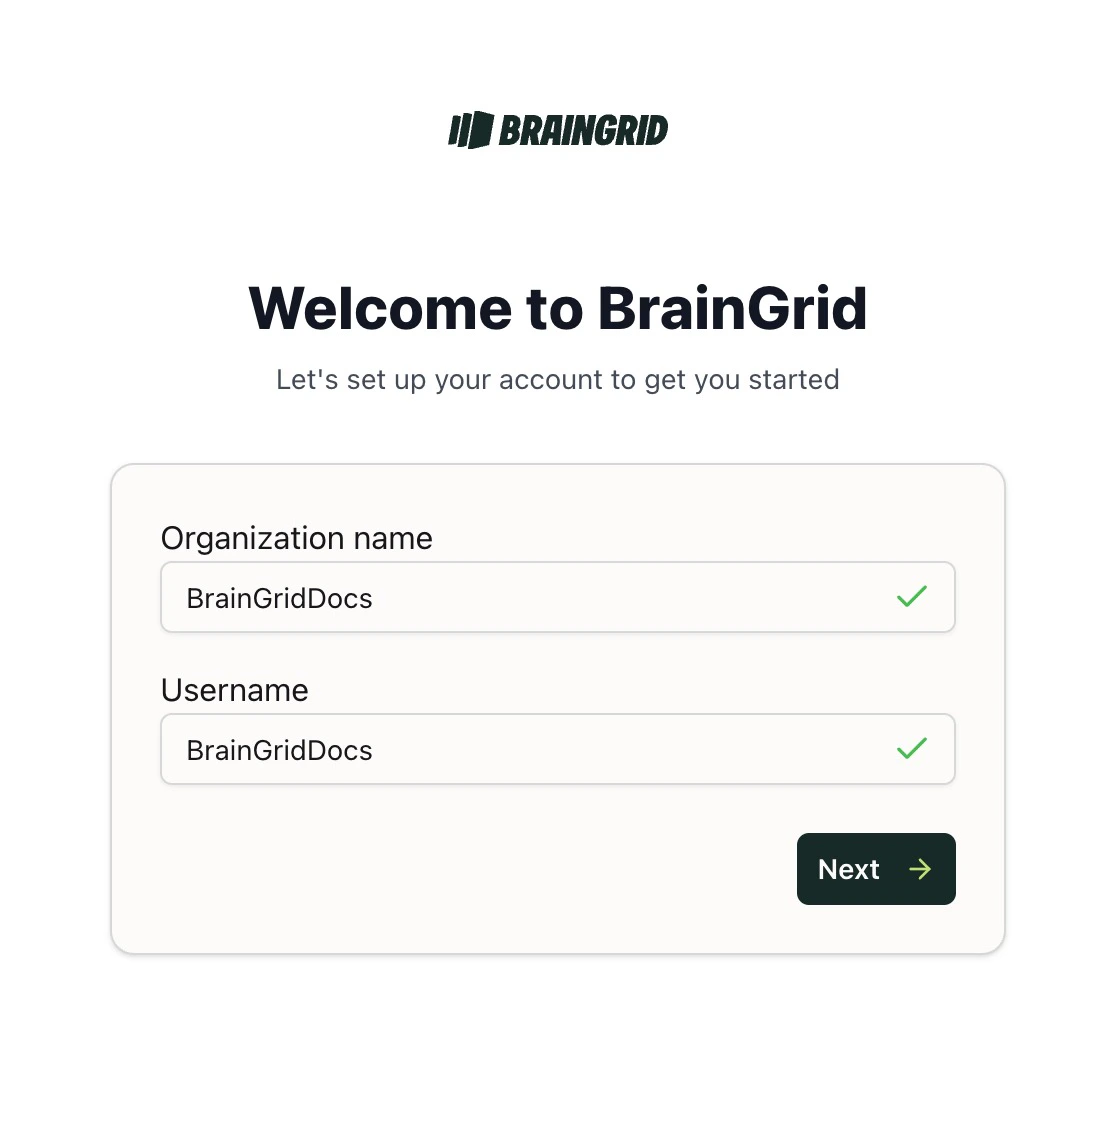
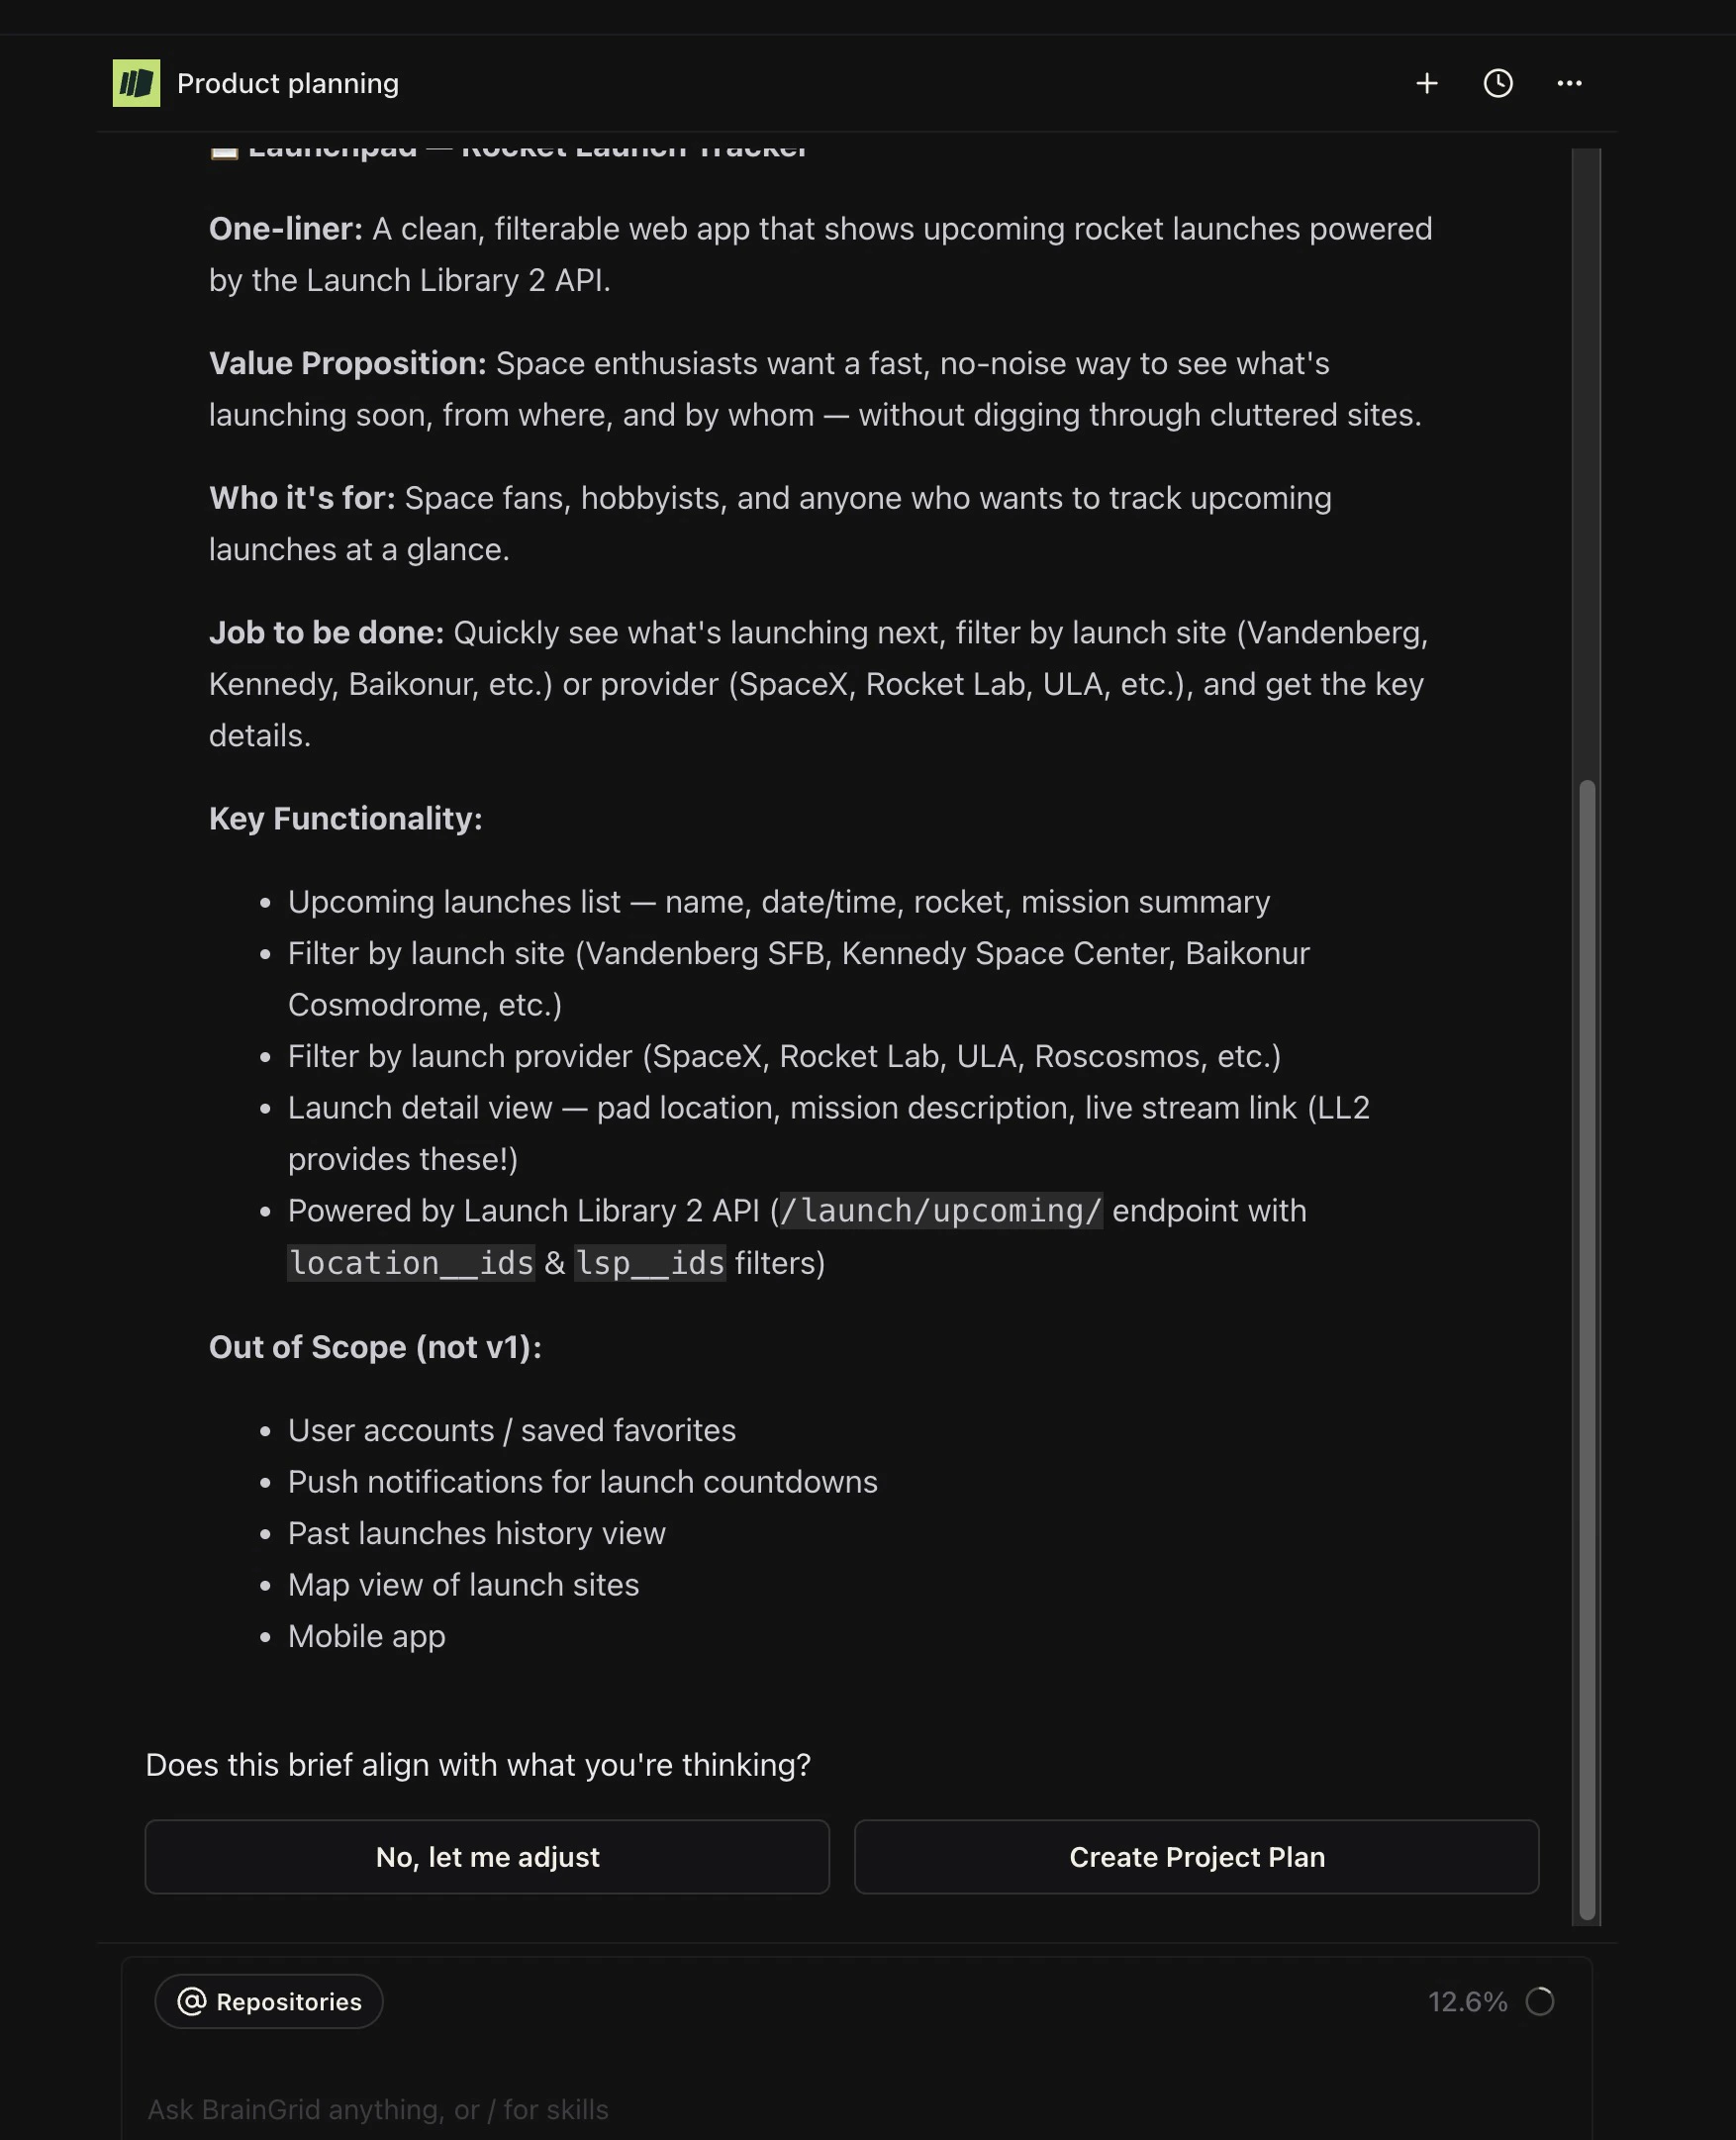
Start building with a prompt


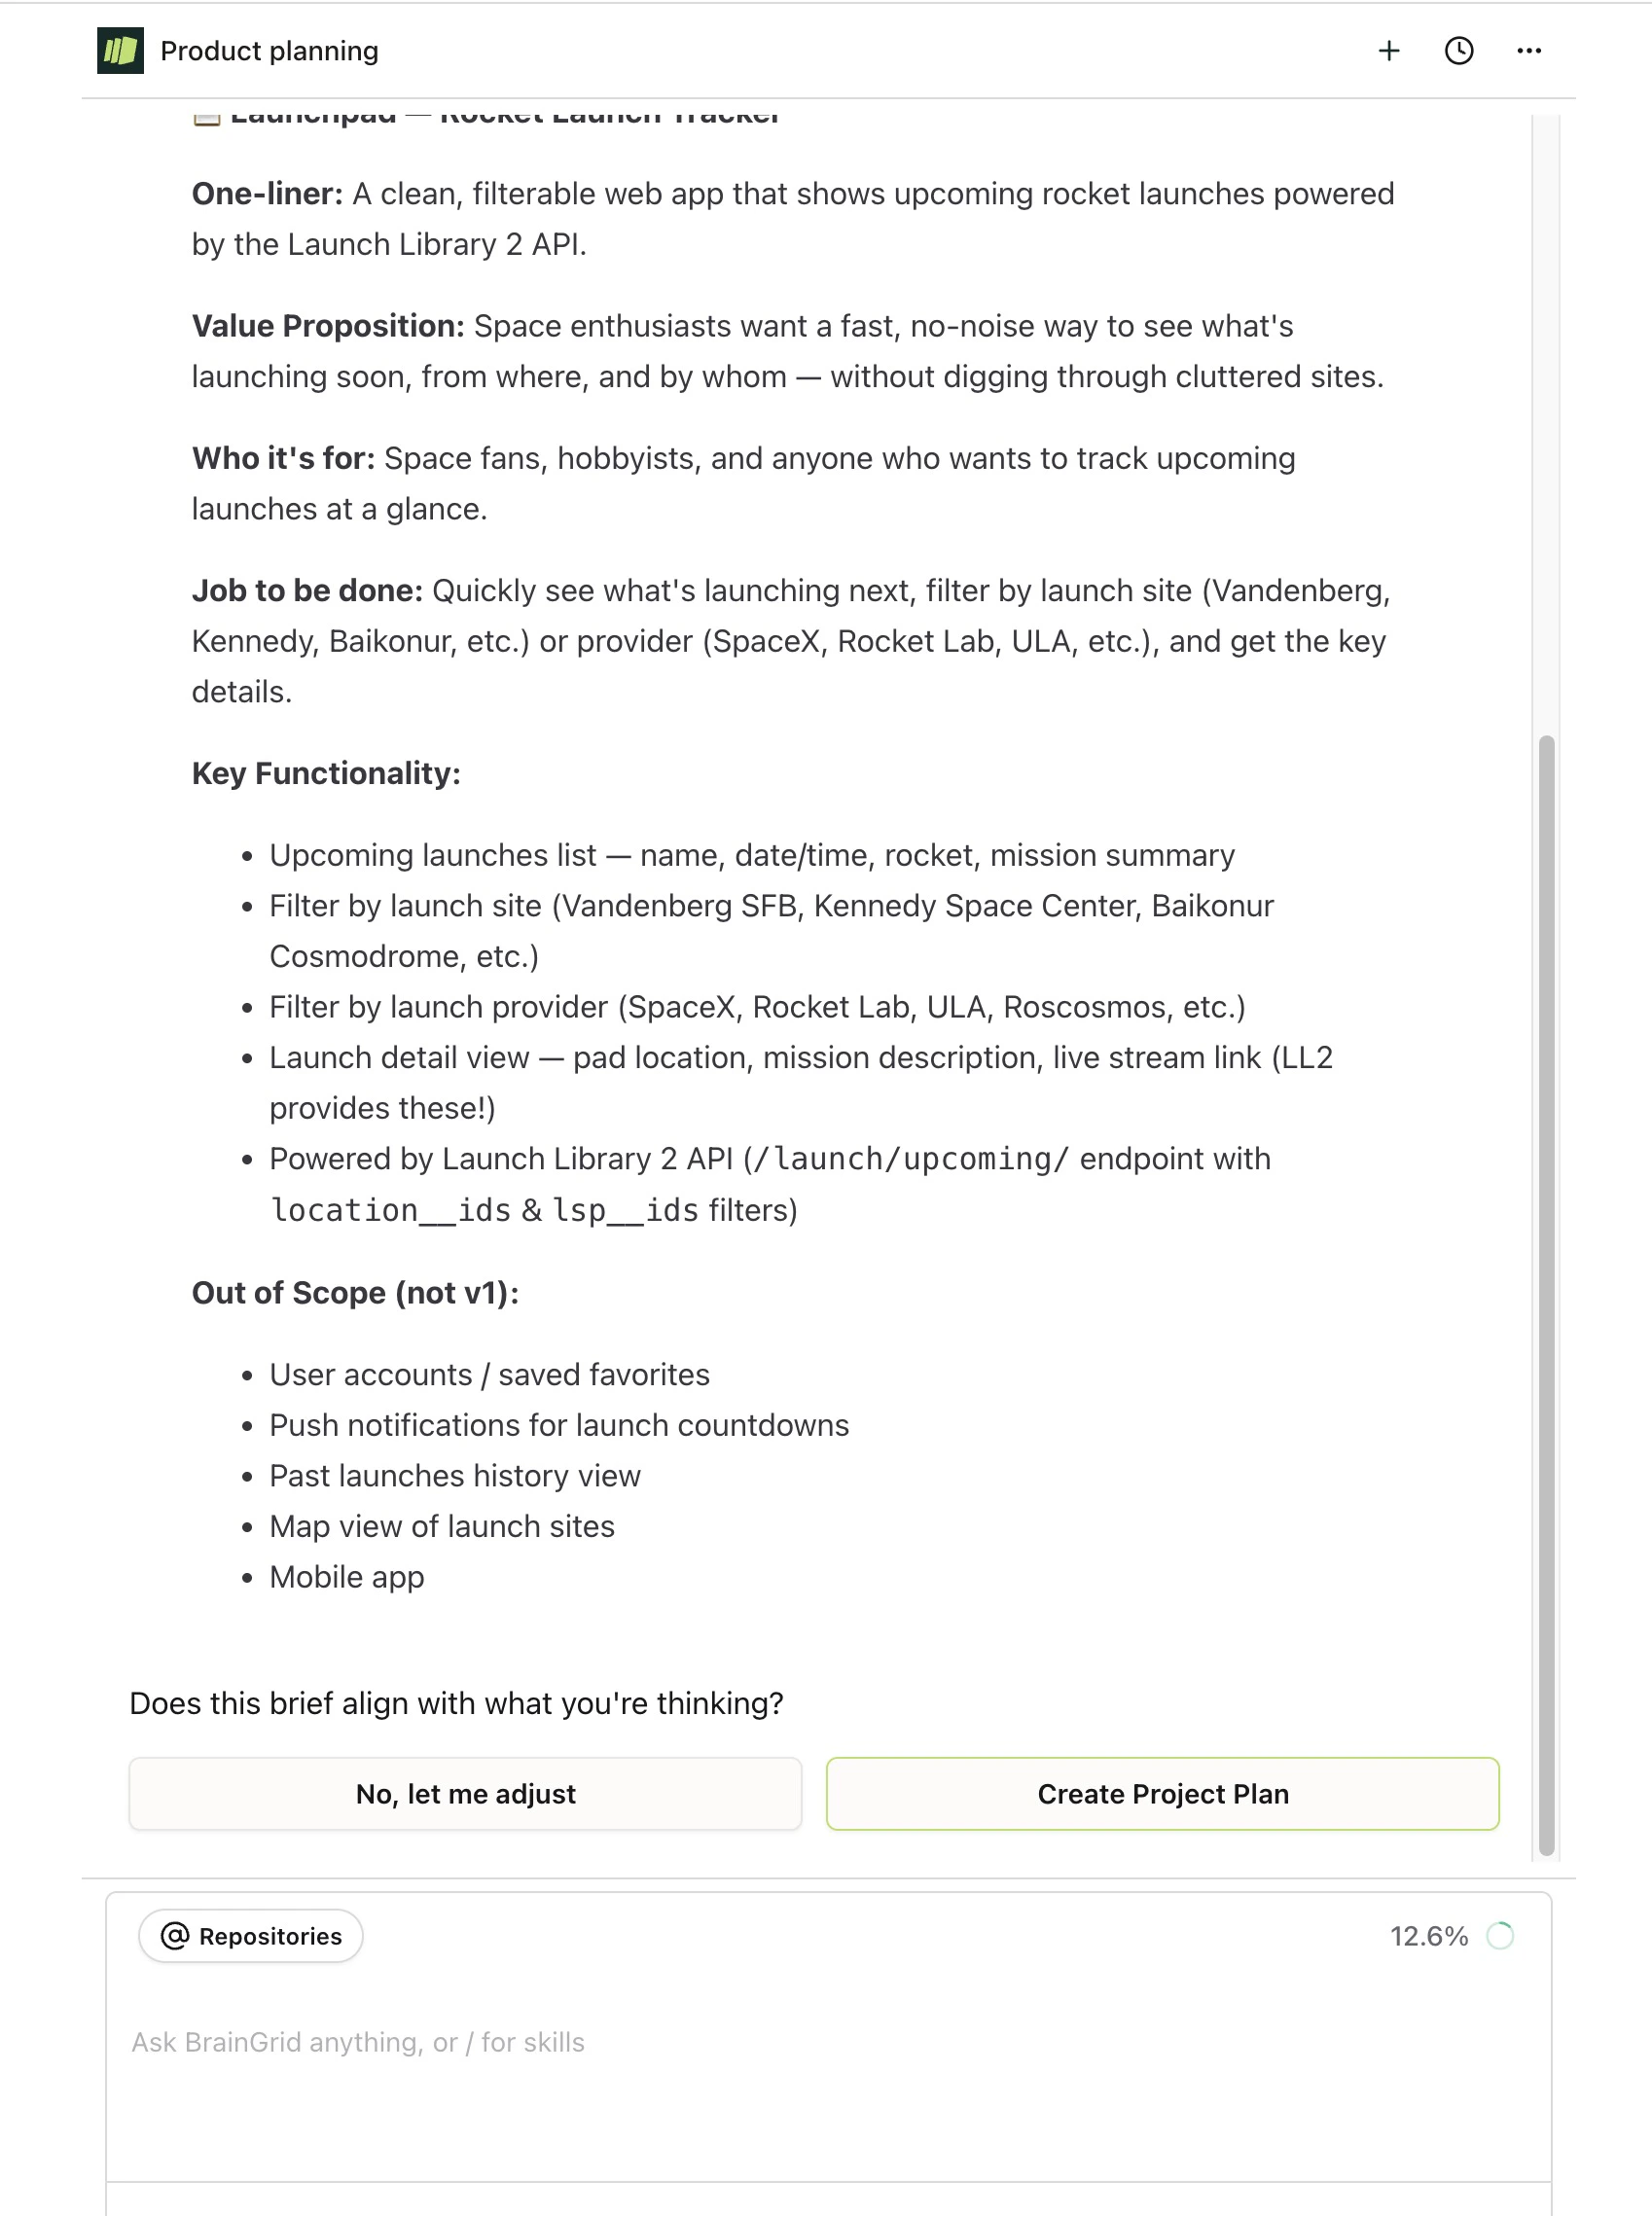
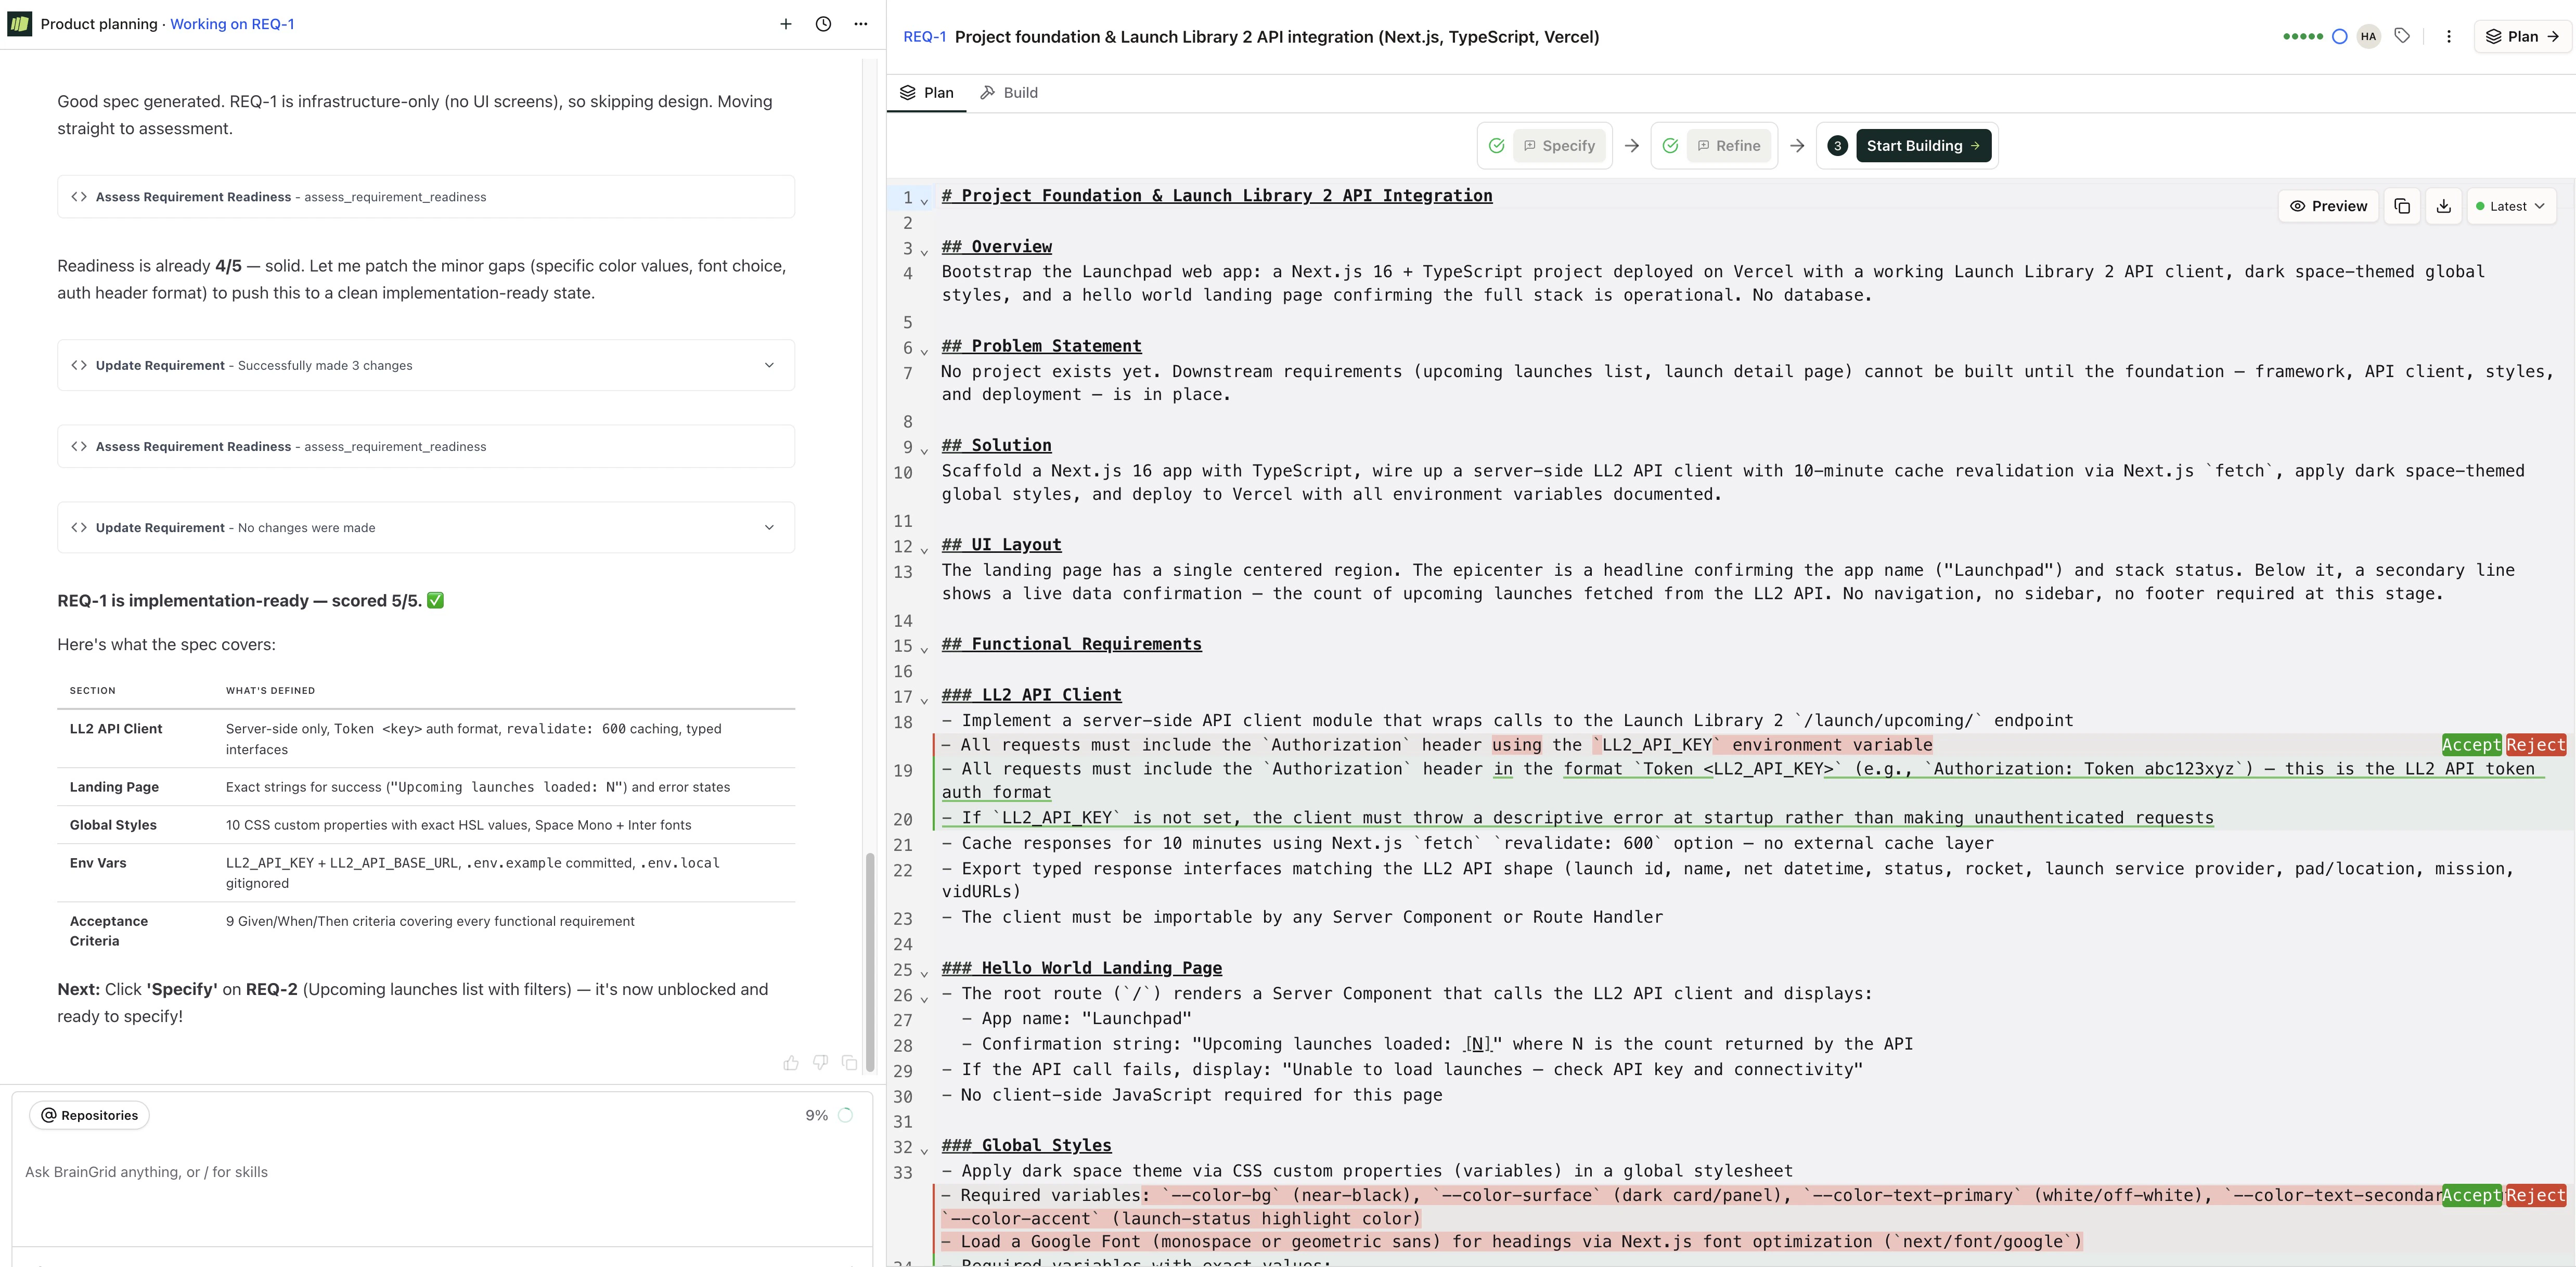
Specify the requirements
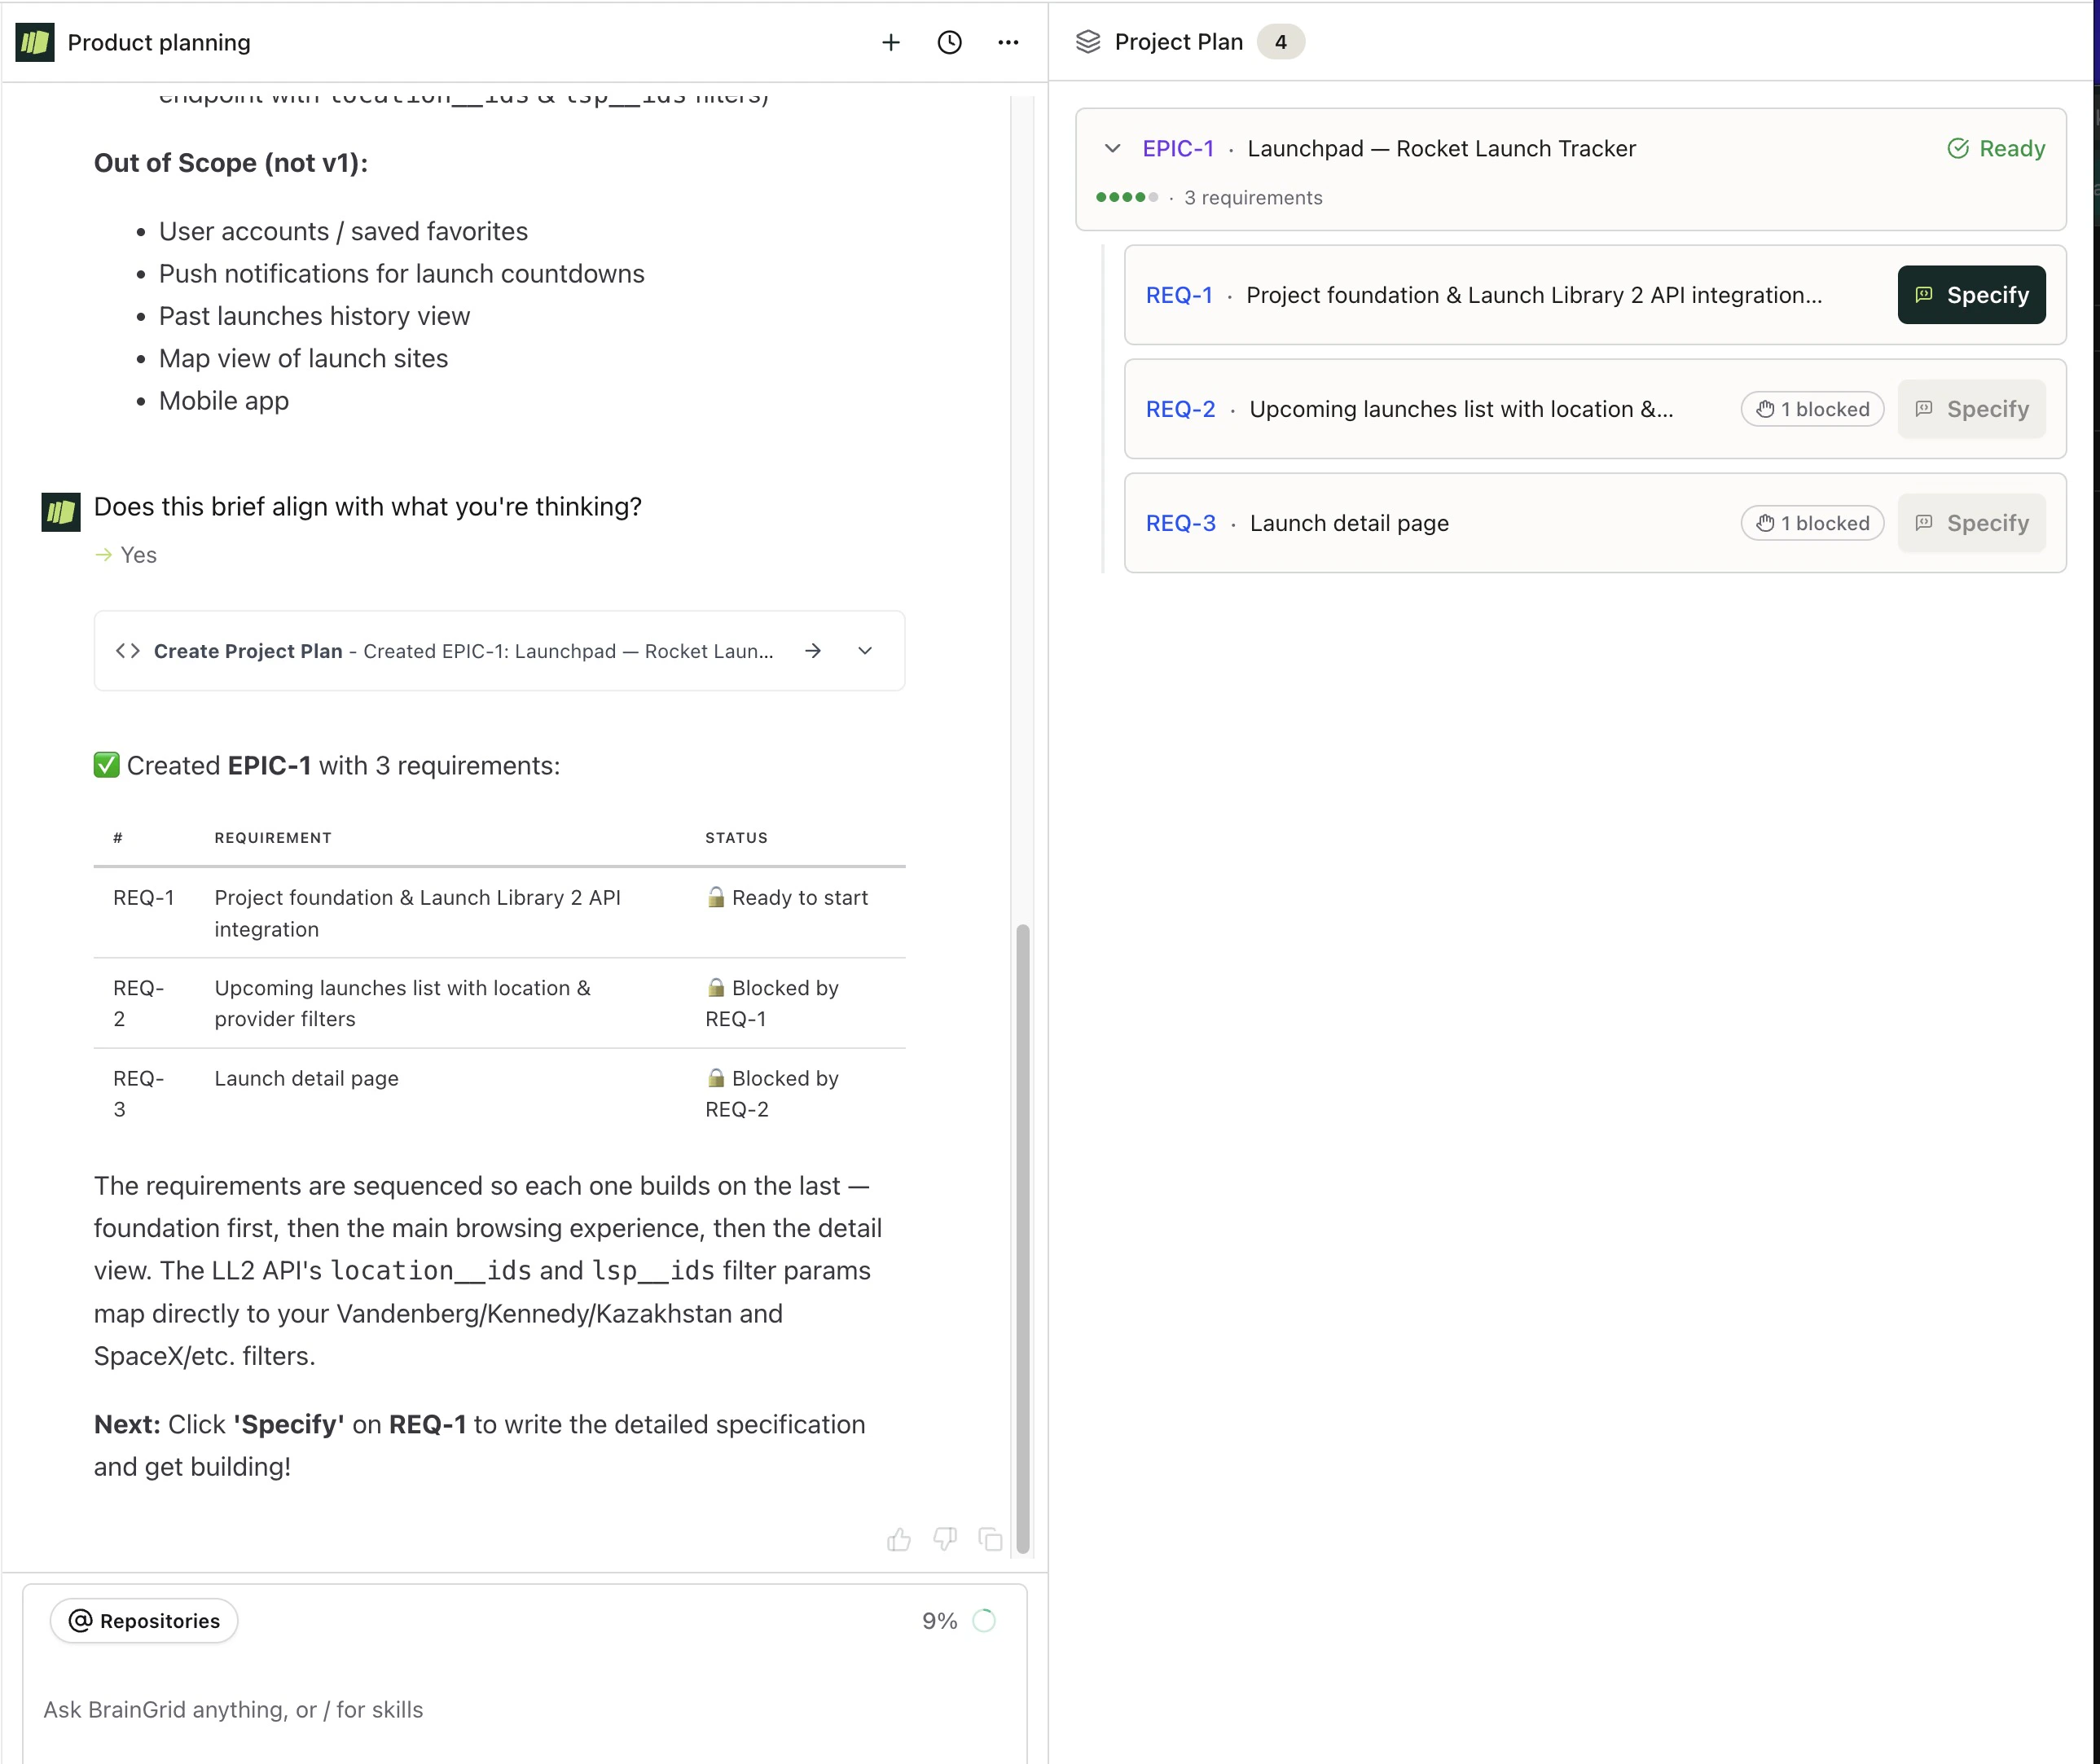
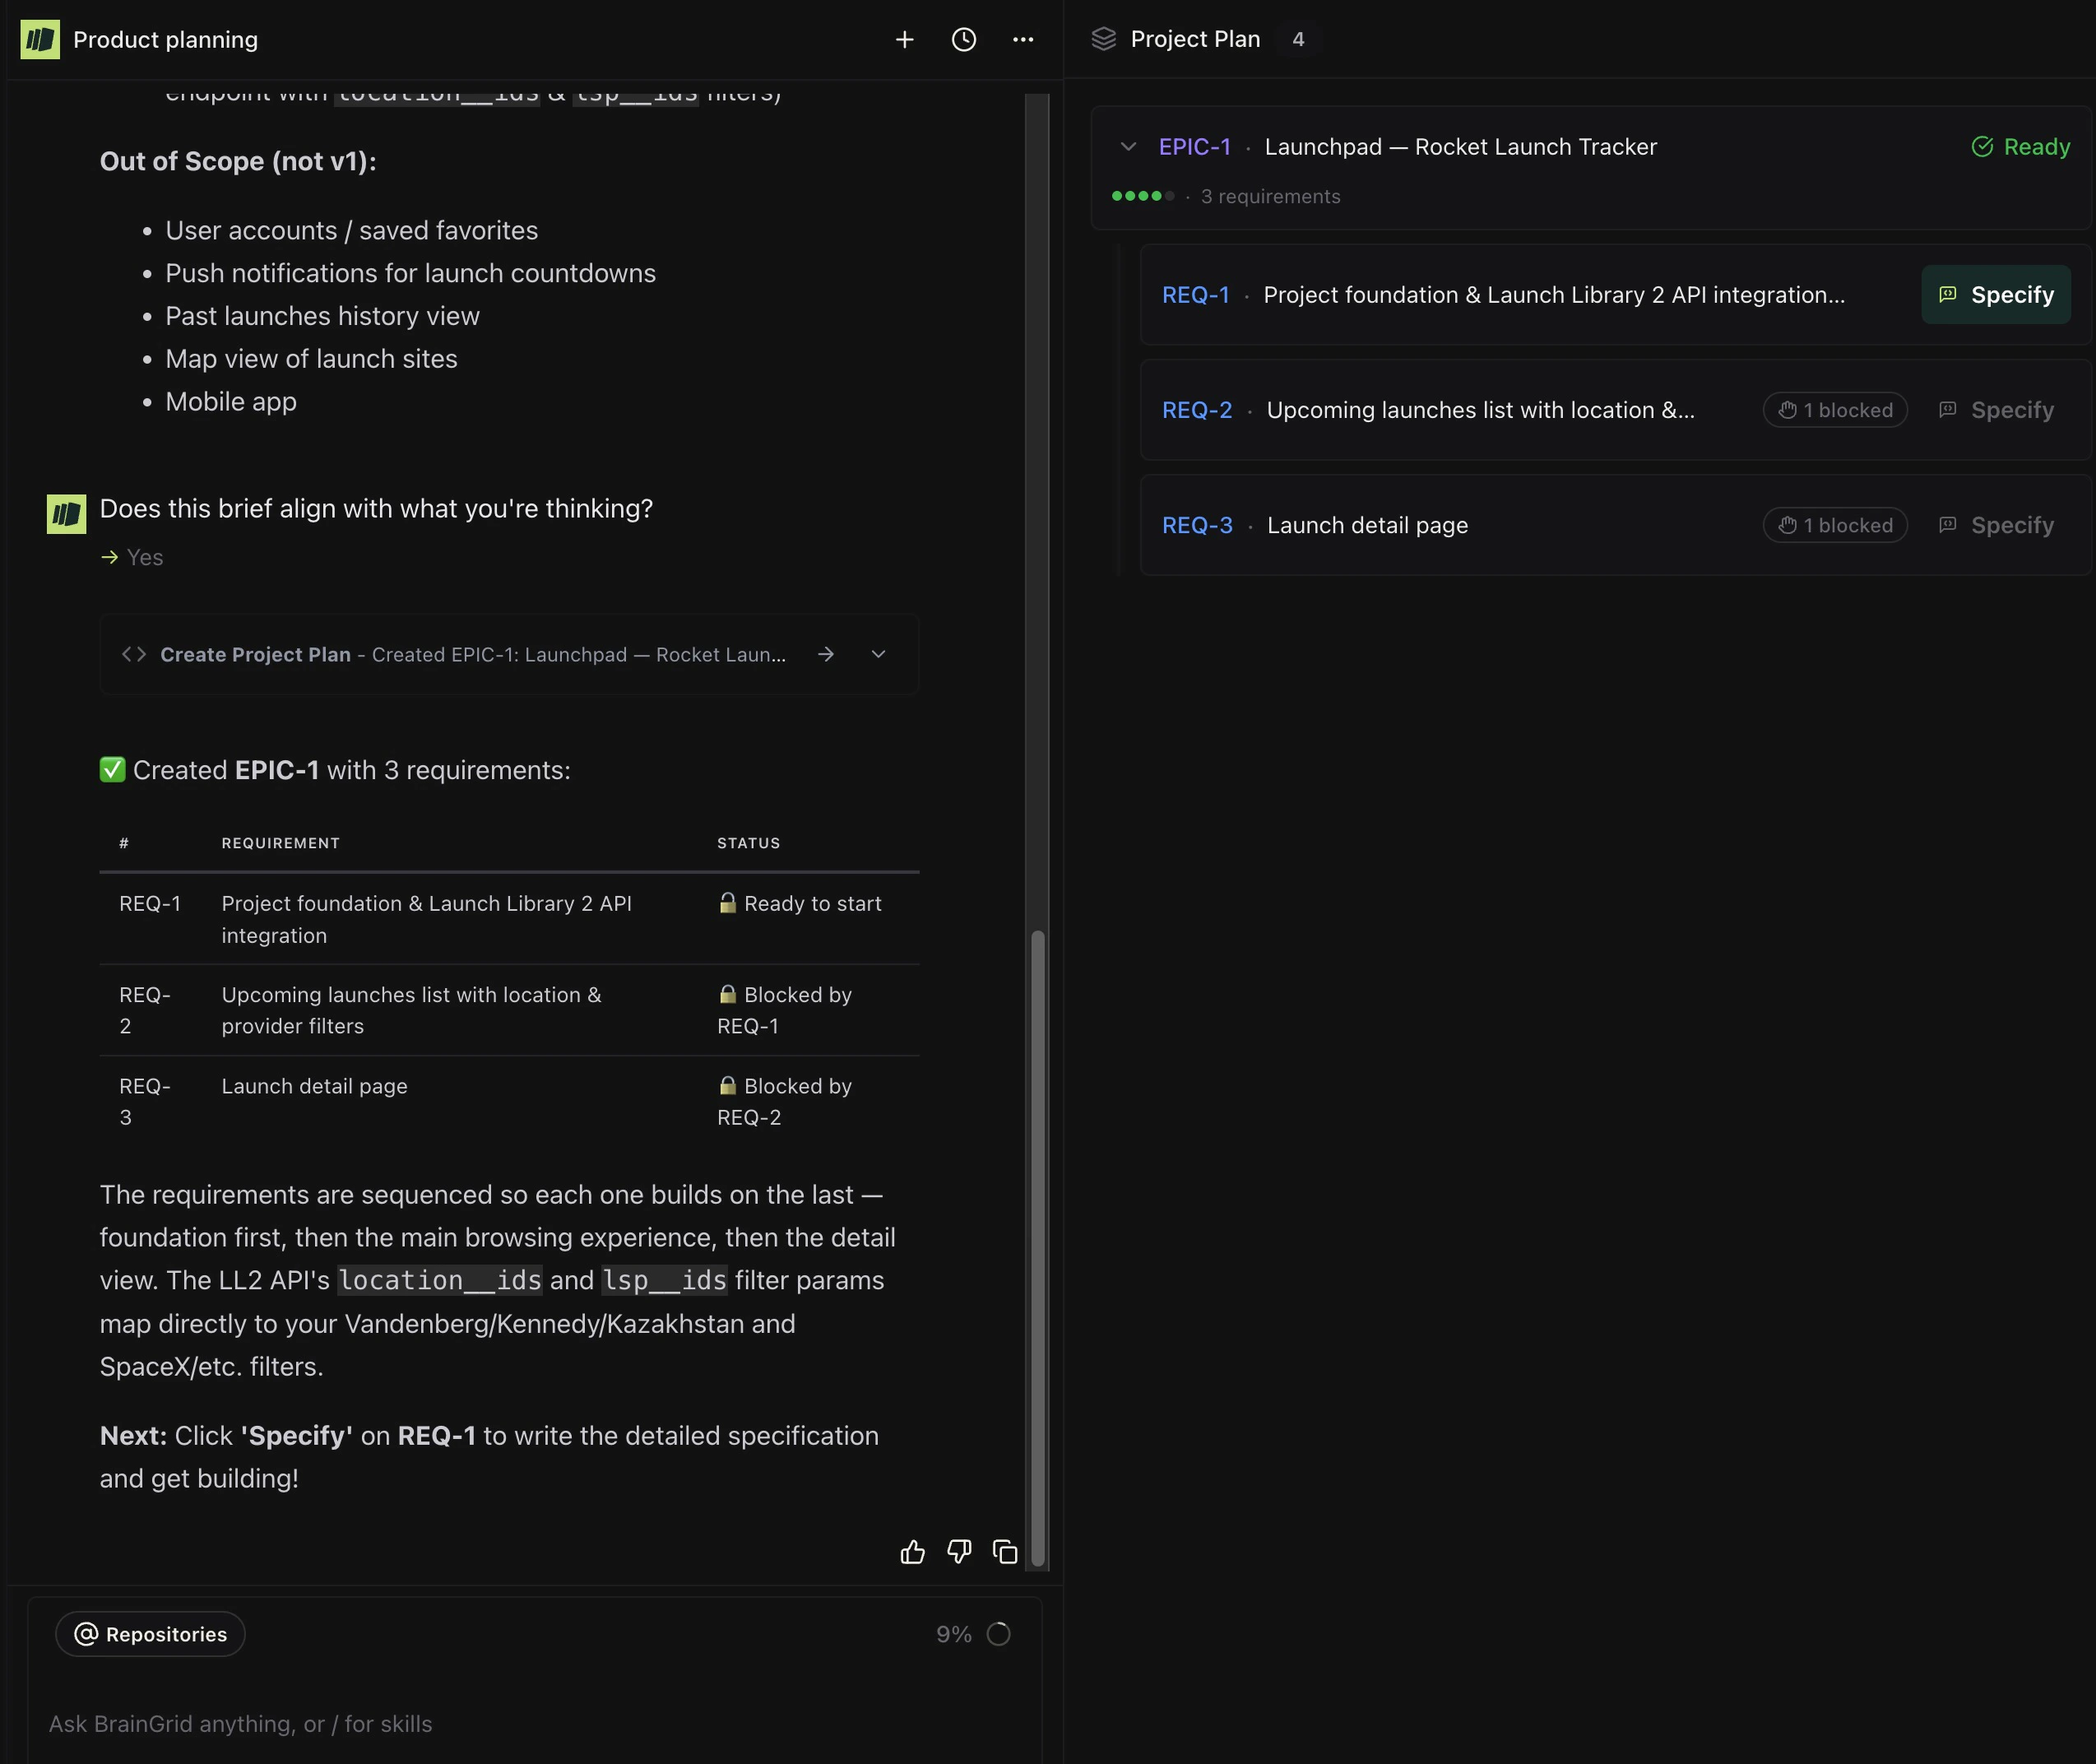
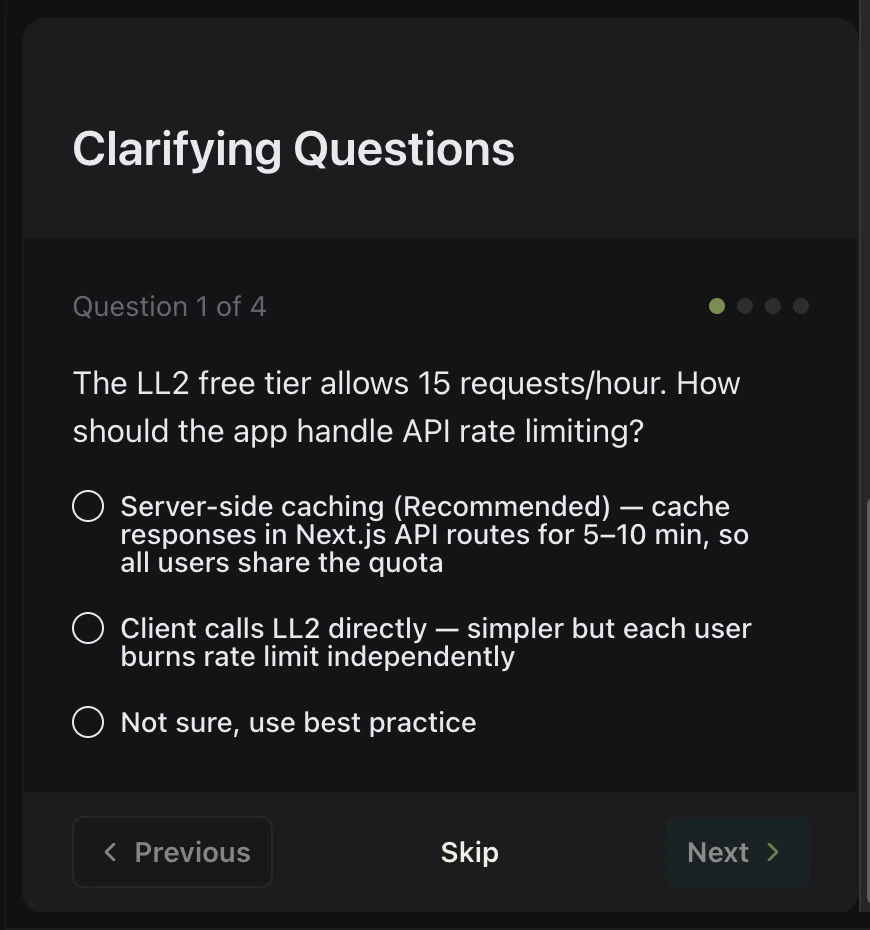
In the right frame of BrainGrid, the proposed requirements are listed. Click “Specify” to begin building the specifications around a requirement. BrainGrid will begin building the requirement. It may ask clarifying questions to refine and enhance the requirements.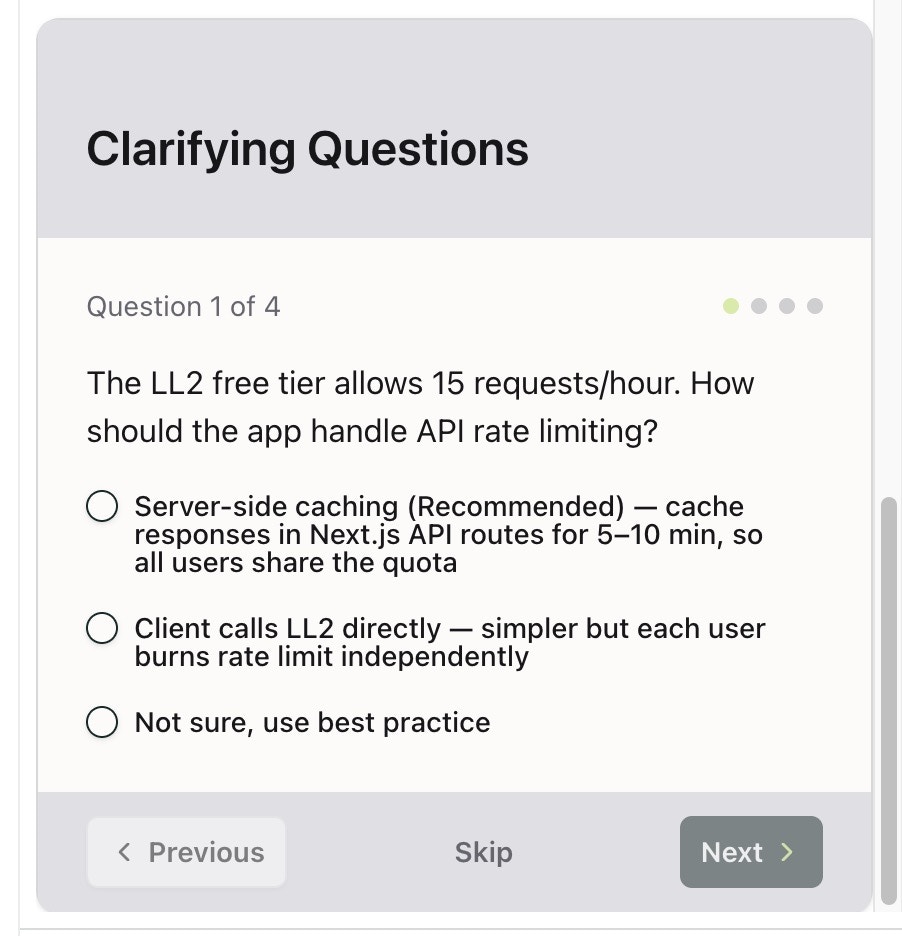
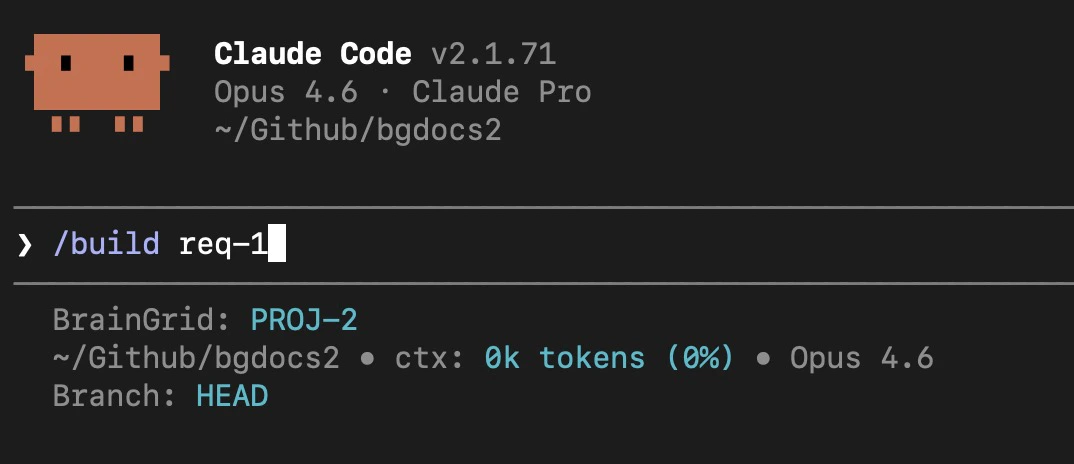
Install the BrainGrid CLI, and configure your agent
Before we can build locally, we need to install BrainGrid’s Command Line Interface (CLI).In the local directory of your repository:If you have Claude Code or Cursor installed, you will be prompted to install the BrainGrid integration into those tools. (Claude code shown as an example):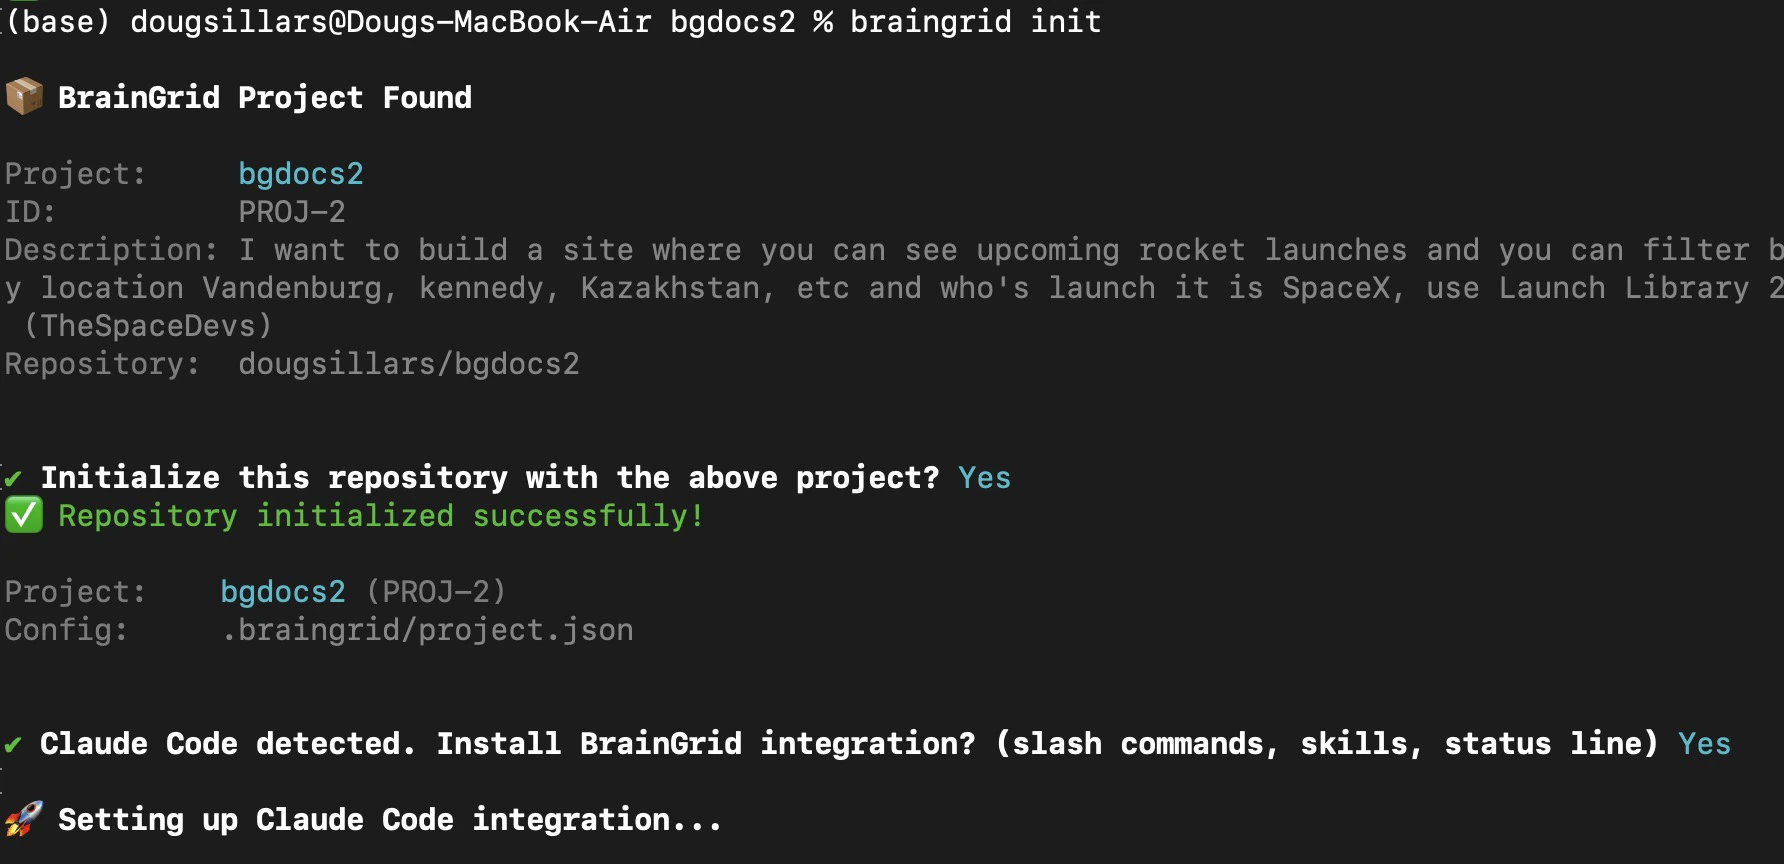
Need more help? Check our detailed CLI installation guide.
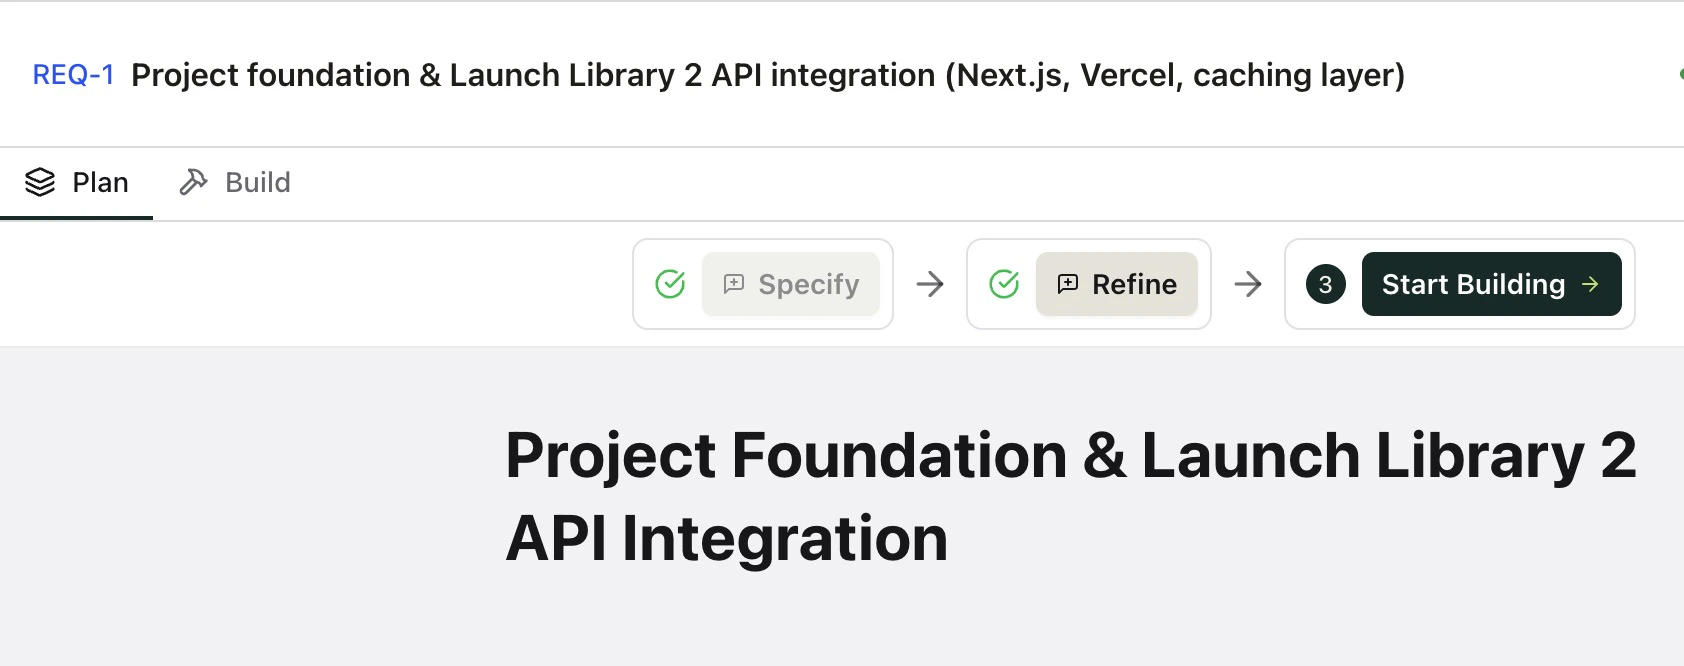
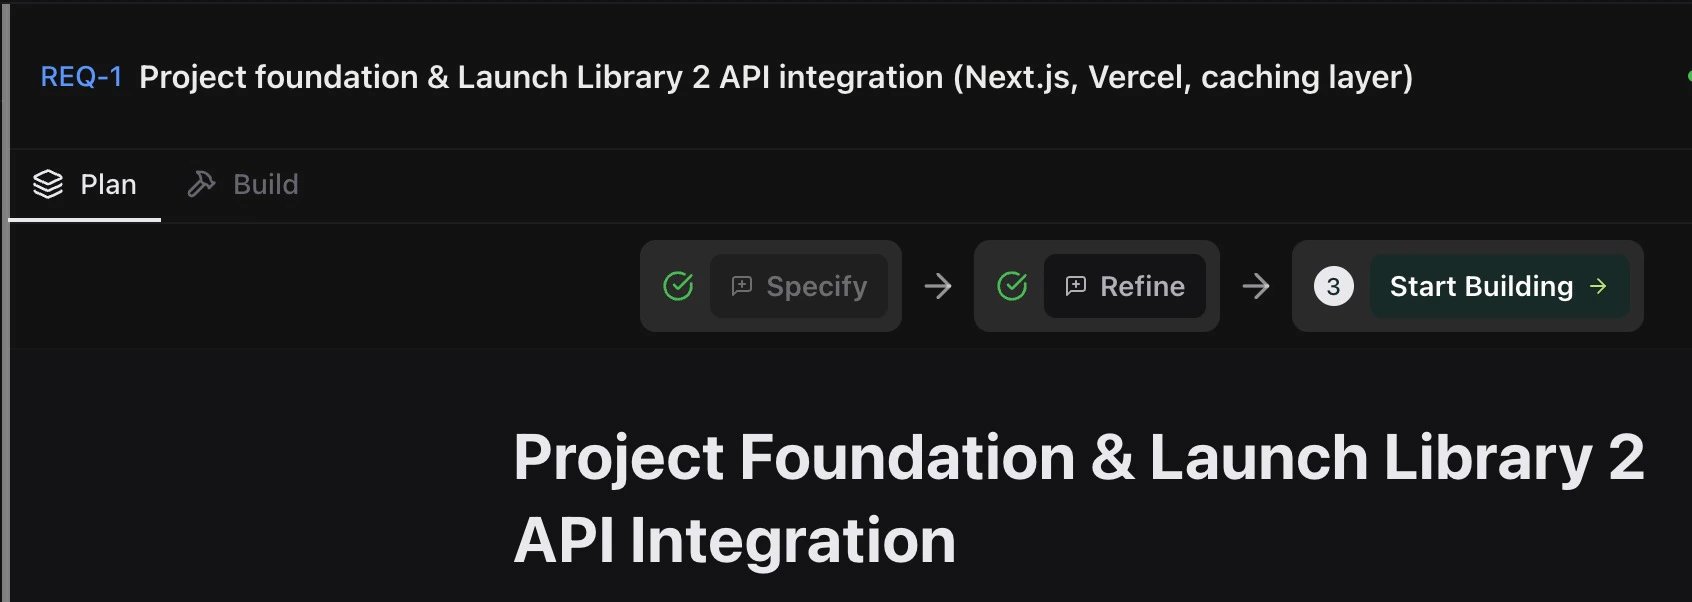
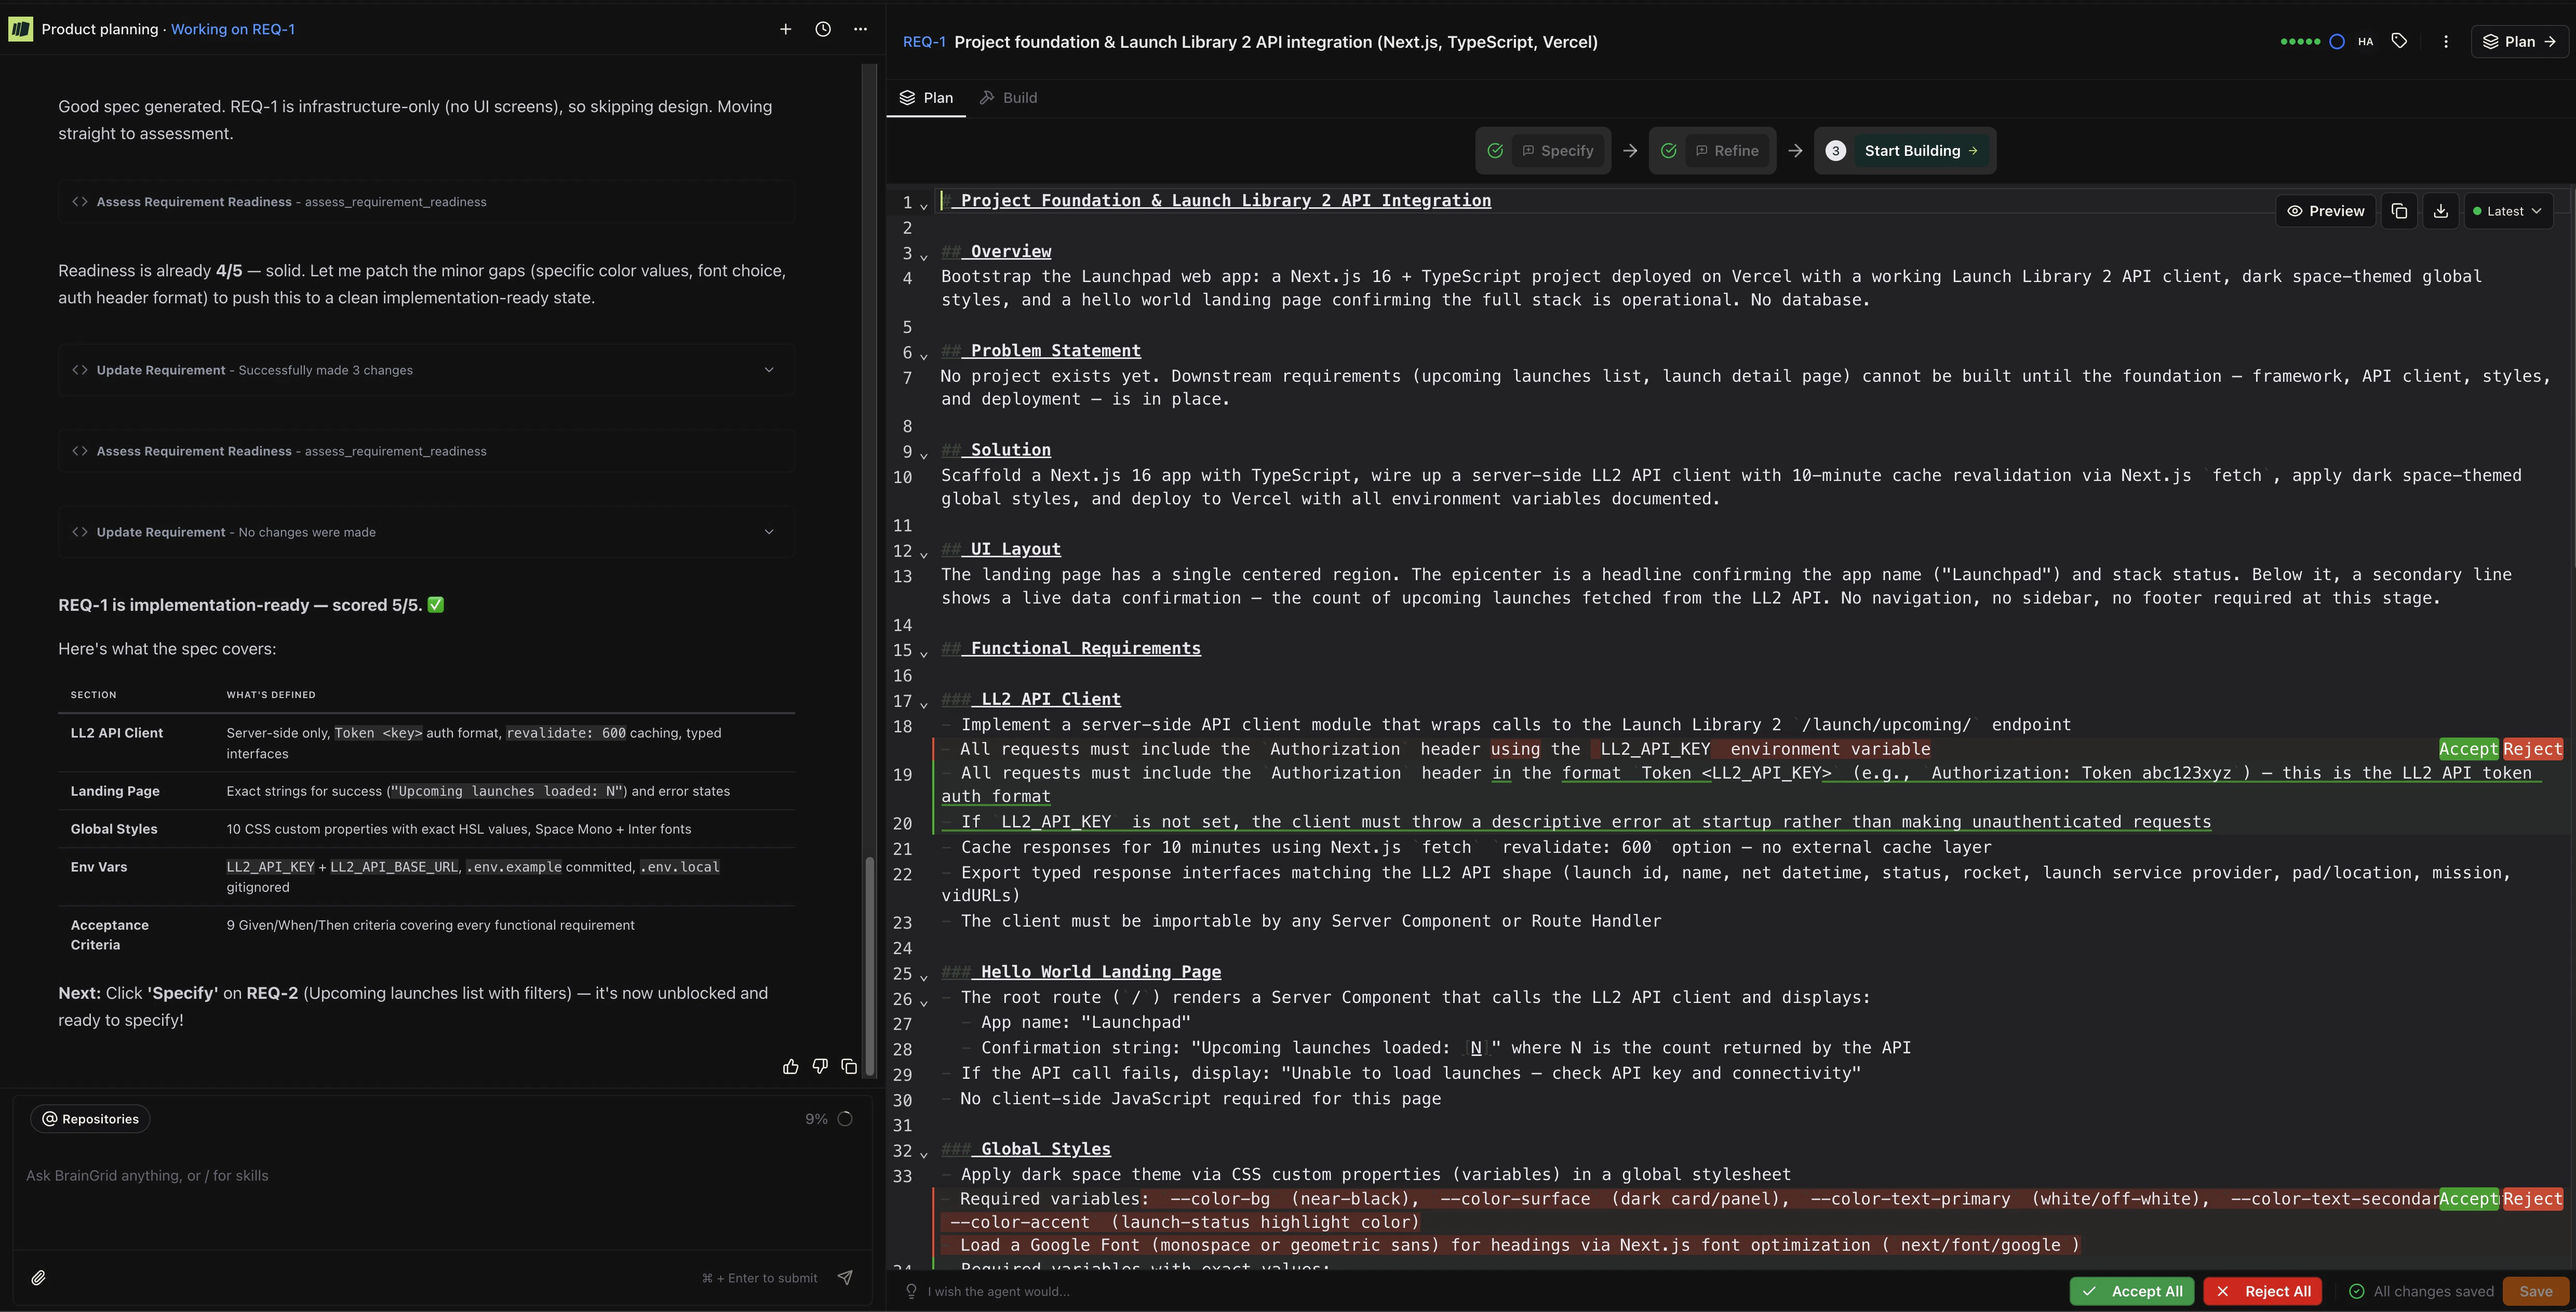
Begin Building
We are now ready to begin building. If you click the “Start Building” button, you will see detailed instructions for your AI Agent: