Documentation Index
Fetch the complete documentation index at: https://docs.braingrid.ai/llms.txt
Use this file to discover all available pages before exploring further.
Claude Code
Codex
Cursor
Windsurf
Warp
JSON Config
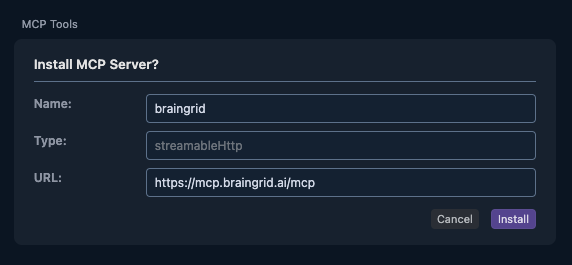
Add BrainGrid to your Claude Code configuration:claude mcp add --transport http braingrid https://mcp.braingrid.ai/mcp
Then restart your Claude Code session. You’ll see that the BrainGrid MCP is available but needs authentication.Enter 
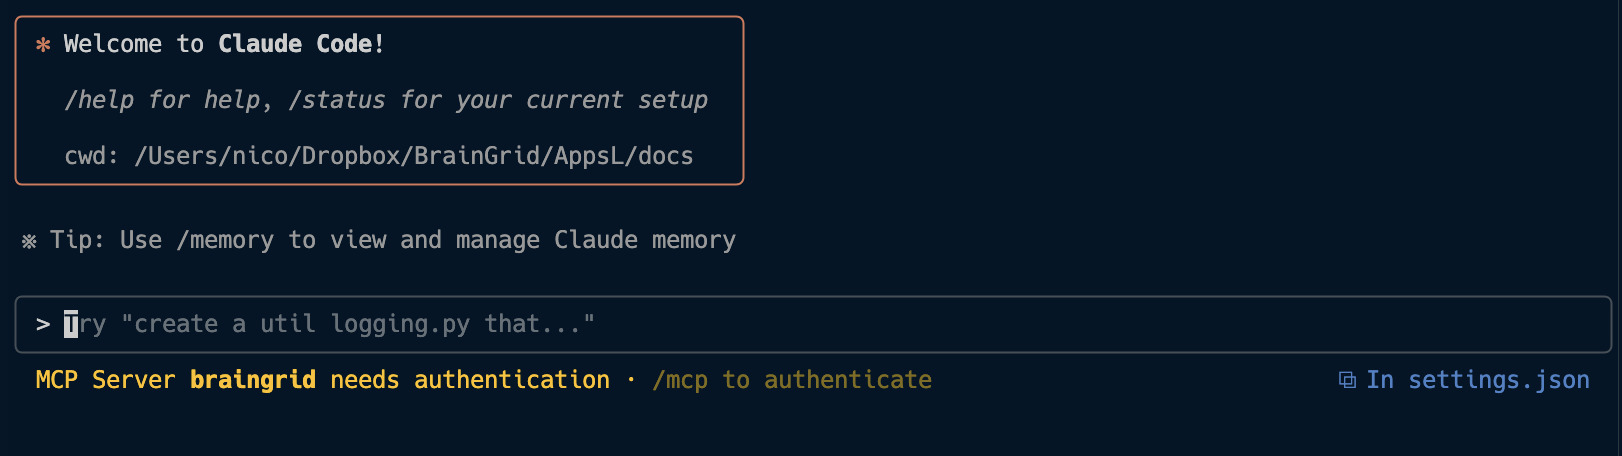
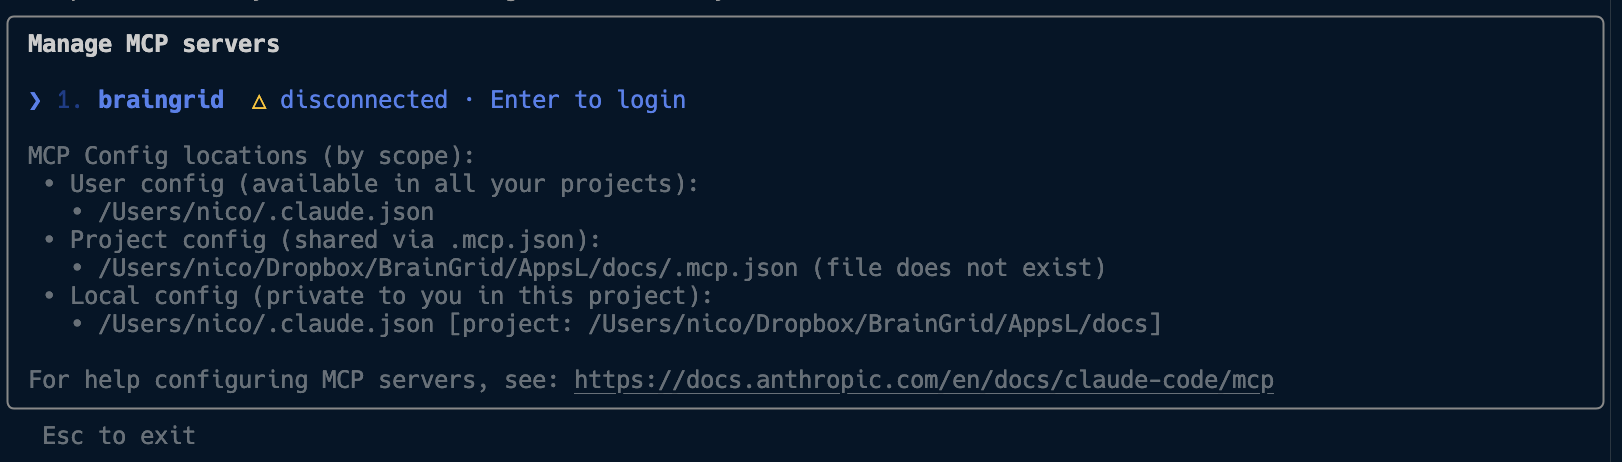
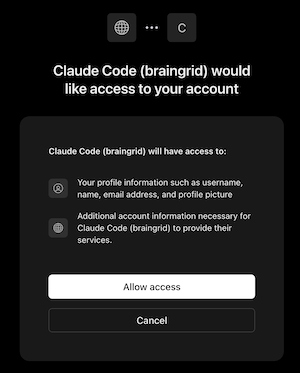
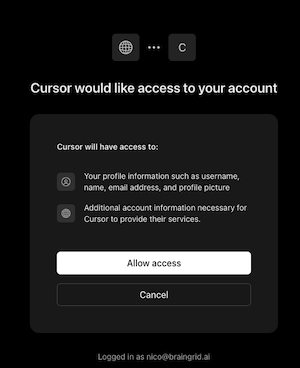
/mcp to manage your MCP servers:Then you’ll see “BrainGrid disconnected - enter to login”Hit “Enter”, this will open a browser window to login to BrainGrid. Once you log in, you can approve the BrainGrid MCP to connect to your account.Once the authentication is complete, you’ll see “Authentication successful. Connected to BrainGrid.” and you can start using the BrainGrid MCP.You can now use the BrainGrid MCP to create requirements and tasks. To install the BrainGrid MCP server in Codex:
-
Install mcp-remote globally
npm install -g mcp-remote
-
Open the Codex configuration file
- Open
~/.codex/config.toml in your preferred text editor
-
Add the BrainGrid MCP configuration
- Add the following configuration:
[mcp_servers.braingrid]
command = "npx"
args = ["-y", "mcp-remote@latest", "https://mcp.braingrid.ai/mcp"]
-
Restart Codex
- Restart Codex to load the new MCP server configuration
- Once restarted, you will need to authenticate with BrainGrid
-
Authenticate
- Follow the authentication prompts to connect your BrainGrid account
- Once authenticated, you can start using the BrainGrid MCP
To install the BrainGrid MCP server in Cursor, click the button below.
Once you click, you’ll be taken to the Cursor MCP settings.Click “Install” and you’ll see the BrainGrid MCP server installed with a “Needs login” message.Click on the “Needs login” message and you’ll be taken to the BrainGrid login page. Once you log in, you can approve the BrainGrid MCP to connect to your account.Once you’re logged in, you can start using the BrainGrid MCP. To install the BrainGrid MCP server in Windsurf:
-
Install mcp-remote globally
npm install -g mcp-remote
-
Open Windsurf Settings
- Click the Settings -> Windsurf Settings, or
- Scroll down to the MCP Servers section
- Click Open MCP Marketplace
- In the Installed MCPs sub section
- Click the gear icon on the right.
- Configure the Server
- Enter the following configuration:
{
"mcpServers": {
"braingrid": {
"command": "npx",
"args": ["-y", "mcp-remote@latest", "https://mcp.braingrid.ai/mcp"]
}
}
}
- Complete Setup
- Close all tabs
- Reopen the Windsurf Settings
- Go to the MCP Marketplace, click open
- You will see the BrainGrid MCP server listed
- Troubleshooting
- If you are having connection or auth issues, disable it and re-enable it.
To install the BrainGrid MCP server in Warp:
-
Open MCP Settings
- Click on the Settings menu in Warp
- Navigate to Features → AI → Model Context Protocol (MCP) → MCP settings
- Or visit the MCP settings documentation for more details
-
Add the Server Configuration
- In the MCP settings, add the following configuration:
{
"braingrid": {
"command": "npx",
"args": [
"-y",
"mcp-remote@latest",
"https://mcp.braingrid.ai/mcp"
],
"env": {},
"working_directory": null
}
}
- Complete Setup
- Save the configuration
- Restart Warp to load the new MCP server
- You will need to authenticate with BrainGrid on first use
For other tools, add BrainGrid MCP to your JSON configuration:{
"mcpServers": {
"braingrid": {
"url": "https://mcp.braingrid.ai/mcp",
"transport": "httpStream"
}
}
}